Blu-ray is becoming more and more important in our life. Watch the Blu-ray movie, listen to the music on Blu-ray, make the Blu-ray video by yourself, etc. Whatever you do, you can’t ignore these facts: Most Blu-ray is protected by region doce, CSS, UOP, etc. If you want to play them smoothly, your Blu-ray player or other media player can remove the Blu-ray protection. However you want to watch the Blu-ray on other devices which are without any Blu-ray drive, how to do? Don’t worry, a best Blu-ray Ripper software can help you to solve all the Blu-ray problems, Blu-ray video format, Blu-ray video devices, Blu-ray video protection and so on. This article will share with you the best Blu-ray Ripper software and help you to enjoy the Blu-ray smoothly.
Magic Blu-ray Ripper-Review
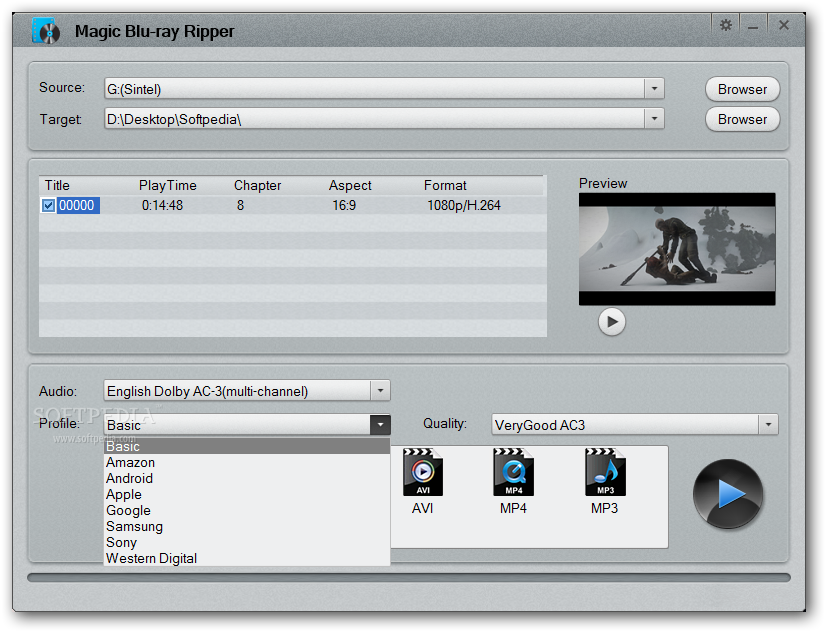
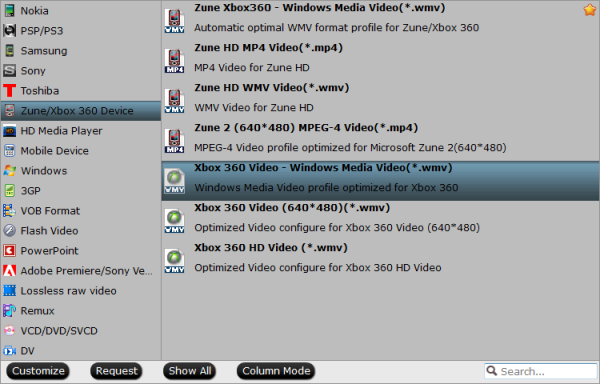
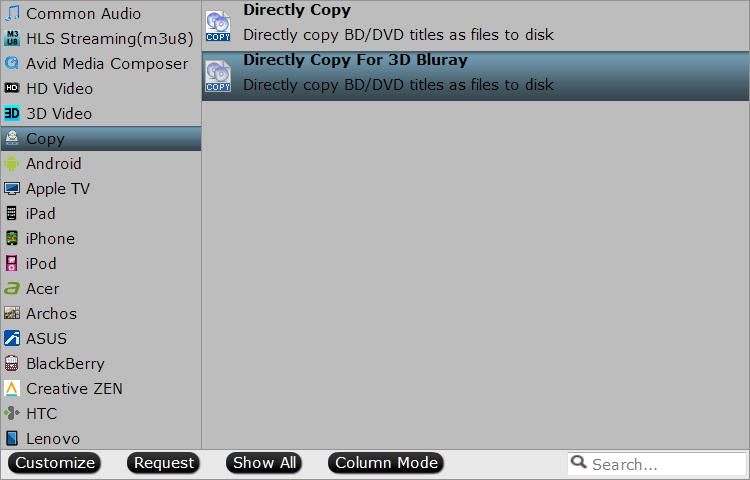
Magic Blu-ray Ripper is a perfect Blu-ray ripper software which purpose is is designed for users’ kinds of Blu-ray backup and conversion. You can rip Blu-ray Discs, BDMV folders, ISO files and convert Blu-ray video to AVI, MP4, WMV, etc. Also you can convert the Blu-ray movies to the computer or portable devices like iPad, iPhone, iPod, Kindle Fire, etc. actually, this software can support more than 20 devices, such as Amazon, Android, Apple, Google, Samsung, Sony, etc. This best Blu-ray ripper software can rip any Blu-ray Disc, including the latest commercial discs, such as: Region code, AACS, BD+, etc.
When you output the Blu-ray movie, you can select Title before ripping. You can select any part of Blu-ray movie to rip by selecting its title, one or more at the same time. When you rip the Blu-ray, this best Blu-ray ripper software can provide you a fast speed. Because it supports multi-core CPUs, and has adopted the newest NVIDIA CUDA technology. This best Blu-ray Ripper can rip multiple files simultaneously of different titles, as well as of one title with different profiles. What’s more, you can download the best Blu-ray ripper software free version and have a try on any Windows operating system. This best blu-ray ripper is now compatible with windows 8 perfectly.
Pavtube ByteCopy-Rreview
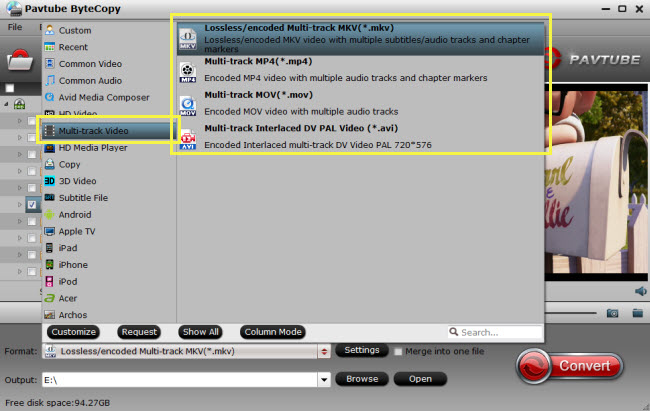
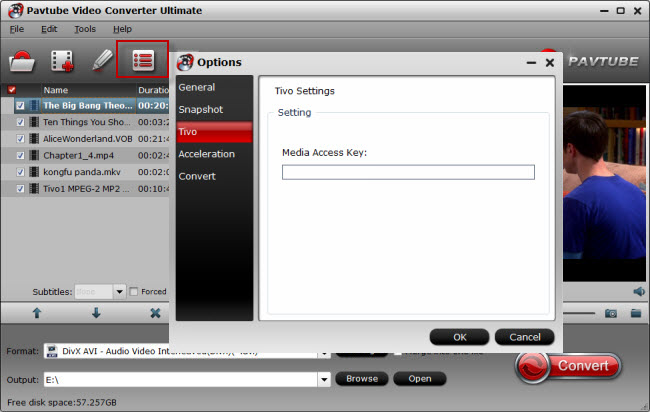
Pavtube ByteCopy is also the best Blu-ray ripper software which is easy and fast to get your conversion started with Blu-ray ripper’s preset profiles. All are optimized for the devices and video formats they support, you don’t need to change a single setting or even know the video formats codec, frames, size, etc. Just choose the video format such as: MP4, MKV, AVI, MOV, etc or any devices: Apple iOS devices, Android OS devices, Windows RT/Pro devices, HDTV, 3D TVs, etc you want. Even though, if you want to make the output files more options to your satisfaction, besides the above main features, there are detailed settings you can adjust, like the video codec, video size, video frame, video bitrate, audio codec, audio channel, etc. At the editing menu, you also can adjust the video effect, add watermark, replace audio, add subtitles, etc.
How about the conversion speed? This best won’t let you down. You can be surprised by the amazing speed. This best Blu-ray ripper software takes advantage of the NVIDIA CUDA technology and AMD APP technology, the conversion speed can be 6 times faster than other Blu-ray ripper software on the market. As a user, you can download and install it in your Windows or Mac computer. The high stability allows you do batch operation which can save you much time.

Magic Blu-ray Ripper VS Pavtube ByteCopy
Which one is the best Blu-ray Ripper? Magic Blu-ray Ripper is the best Blu-ray Ripper or Pavtube ByteCopy is the best Blu-ray Ripper? From the review, you can’t make the hard decision, every Blu-ray ripper software is so perfect. So I have made the following comparison table which cab help you know these 2 Blu-ray Ripper well and choose the best Blu-ray Ripper as your Blu-ray assistant.
NO 1. Supported New OS Platform Comparison
| Software | Magic Blu-ray Ripper | Pavtube ByteCopy |
| Windows | Windows 8 | Windows 10 |
| Mac |
–
|
macOS Sierra 10.12 |
Conclusion: About the Supported New OS Platform, Pavtube Bytecopy is better than Magic Blu-ray Ripper, which can support the newest Windows 10 and macOS Sierra 10.12. Pavtube Bytecopy is the best Blu-ray ripper software on supported new OS platform.
NO 2. Input File Formats Comparison
| Software | Magic Blu-ray Ripper | Pavtube ByteCopy |
| Blu-ray Disc |
√
|
√
|
| Blu-ray BDMV Folder |
√
|
√
|
| Blu-ray ISO |
√
|
√
|
| DVD Disc/Video_TS Folder/ISO Image File |
–
|
√
|
Conclusion: From the Input File Format table, Pavtube Bytecopy not only can support Blu-ray Dis , Blu-ray BDMV Folder, Blu-ray ISO, also can support DVD Disc/Video_TS Folder/ISO Image File which is that Magic Blu-ray Ripper can’t do. So Pavtube Bytecopy is the best Blu-ray ripper software on input file format.
NO 3. Output File Formats Comparison
| Software | Magic Blu-ray Ripper | Pavtube ByteCopy |
| Common SD Video Formats |
√
|
√
|
| HD Video Formats |
–
|
√
|
| 4K Video Formats |
–
|
√
|
| 3D Video Formats |
–
|
√
|
| Lossless Multi-track MKV |
–
|
√
|
| Multi-track MP4/MOV |
–
|
√
|
Conclusion: Actually, the result is obvious, so Pavtube Bytecopy is the best Blu-ray ripper software on output file format which can provides various video formats, like: HD Video Formats, 4K Video Formats, 3D Video Formats , even allows you to output lossless Multi-track MKV and Multi-track MP4/MOV, so great.
NO 4. Subtitle and Audio Track Function Comparison
| Software | Magic Blu-ray Ripper | Pavtube ByteCopy |
| Select Desired Internal Subtitle and Audio Tracks |
√
|
√
|
| Enable Forced Subtitles |
–
|
√
|
| Add External Subtitles |
–
|
√
|
| Extract SRT Subtitles |
–
|
√
|
Conclusion: Compare the Subtitle and Audio Track Function, you can know Pavtube Bytecopy holds the powerful potential, which can help you to select desired internal subtitle and audio tracks, you can also enable forced subtitles, Add external subtitles or extract SRT Subtitles, so Pavtube Bytecopy must be the best Blu-ray ripper software.
NO 5. Advanced Features Comparison
| Software | Magic Blu-ray Ripper | Pavtube ByteCopy |
| Adjust Output Profile Parameters |
√
|
√
|
| Trim/Crop/Merge/Split/Watermark/Deinterlace/Flip |
–
|
√
|
| Apply Special Effect |
–
|
√
|
| Change Video Brightness, Contrast, Saturation |
–
|
√
|
| Remove/Replace Audio in Video |
–
|
√
|
Conclusion: Advanced Features, you can find the Pavtube Bytecopy can provide more features, like: Apply Special Effect , Change Video Brightness, Contrast, Saturation, Remove/Replace Audio in Video, etc. Which can help you to make a special video.
Total Summay: From above 5 tables, no doubt, Pavtube Bytecopy is the championship which must be the best Blu-ray ripper software, whatever the inpout or output formats, this best Blu-ray ripper software can provide you more choices. Multiple operating system support, Subtitle and Audio Track Function support, more video editing ans setting options, etc. Finally, hope you can choose your best Blu-ray ripper software from here and enjoy your Blu-ray at will. If you like this best Blu-ray ripper software, you can get it from the following link.


More Guides:


 Xbox 360 Supported AVI
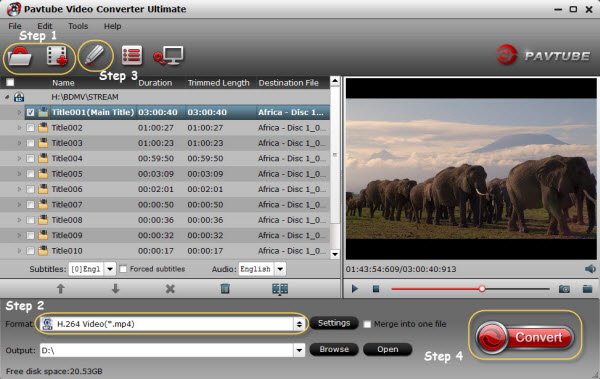
 Windows Media Player


 "
"

 Pavtube iMedia Converter for Mac is an all-in-one video converter that can copy Blu-ray and DVD and convert video to another format according to your needs. So with it, you never need to worry about video compatibility issue on QuickTime and other


 Pavtube New Official Site