In February of 2016, Slysoft made a statement in homepage: “Due to recent regulatory requirements we have had to cease all activities relating to SlySoft Inc.” But later, a reborn ‘RedFox’ rose from the ashes of SlySoft, which hit the market. No matter Slysoft AnyDVD is dead or reborn in the name of RedFox, it has none business with Mac users in that AnyDVD HD is a Windows based application. To rip, copy and convert DVD on Mac, you need AnyDVD Alternatives for Mac (macOS Sierra/El Capitan).
Nevertheless, there are many other software developers that are able to let you make backups of Blu-ray and DVD movies you own. Here’s a list of AnyDVD alternatives for Mac (macOS Sierra/El Capitan) that are available and are able to decrypt DVD and Blu-ray discs enabling you to make backups of your favorite movies.
Disclaimer: We do not condone piracy. Circumvention of copy protections might be illegal in your country. Only use this software to create backups of discs you own.
Top AnyDVD Alternatives on Mac (macOS Sierra/El Capitan)
Pavtube DVD/Blu-ray Ripper for Mac
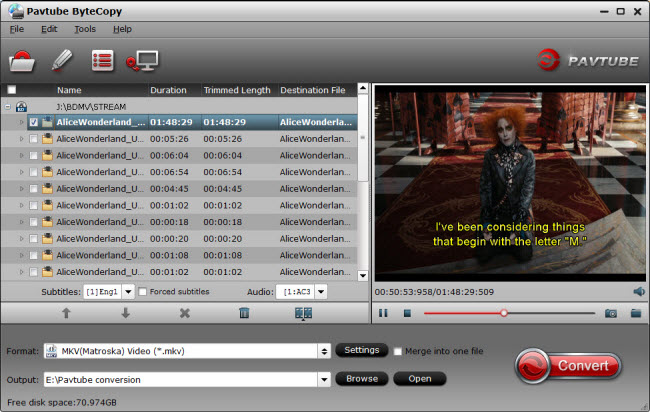
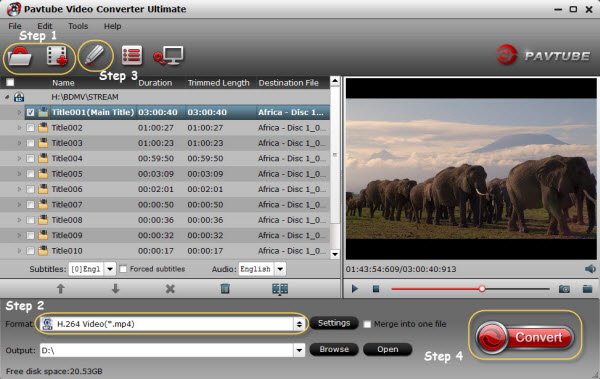
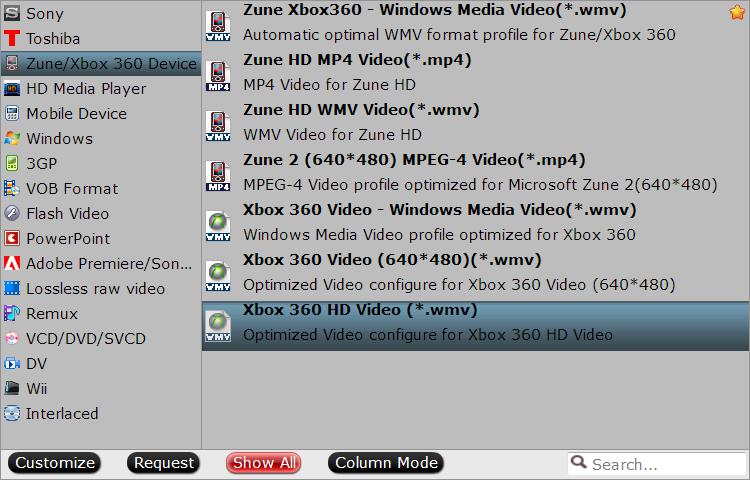
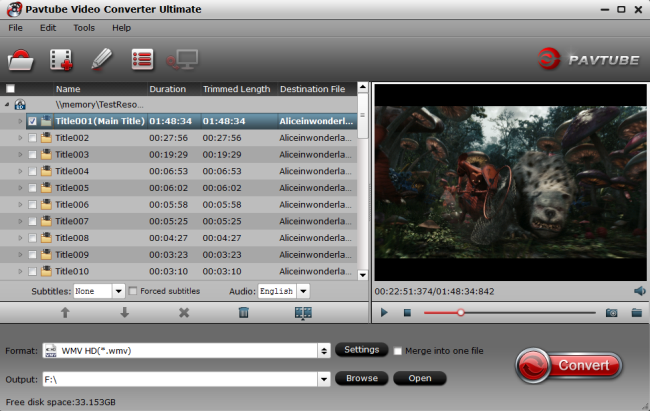
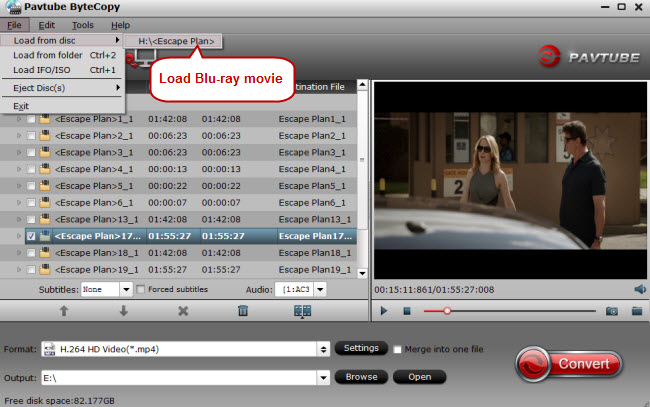
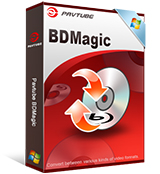
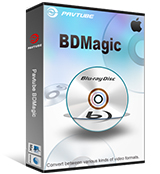
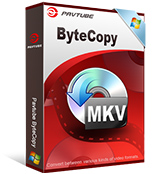
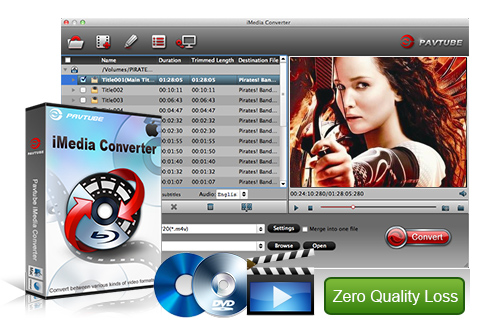
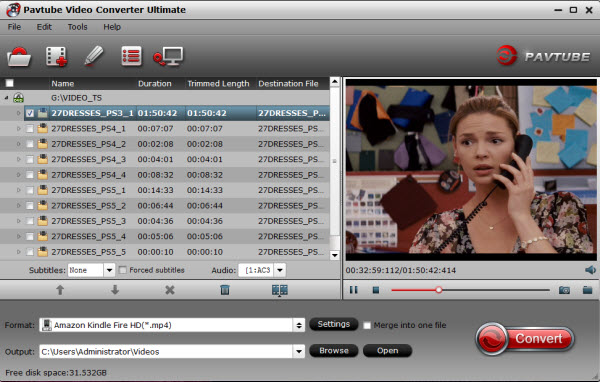
Except AnyDVD, Pavtube Studio is the NO.1 Software Inc in China offering Blu-ray ripping software and DVD ripping software. Its top-selling applications which can copy/rip both Blu-ray and DVD have Pavtube ByteCopy for Mac, Pavtube BDMagic for Mac and Pavtube iMedia Converter for Mac. All of these 3 softwares from Pavtube Studio can copy, rip and convert both Blu-ray and DVD, among which Pavtube ByteCopy will be strongly recommended cause it can export lossless/uncompressed MKV container like MakeMKV and encoded MP4 wrapper with mutiple subtitle and audio tracks. These 3 Blu-ray/DVD ripping software are fully compatible with 10.12 macOS Sierra, Mac OS X 10.11 El Capitan, 10.10 Yosemite, 10.9 Mavericks, 10.8 Mountain Lion, etc.
- Pavtube ByteCopy: $42 for lifetime license
- Pavtube BDMagic: $39.2 for lifetime license
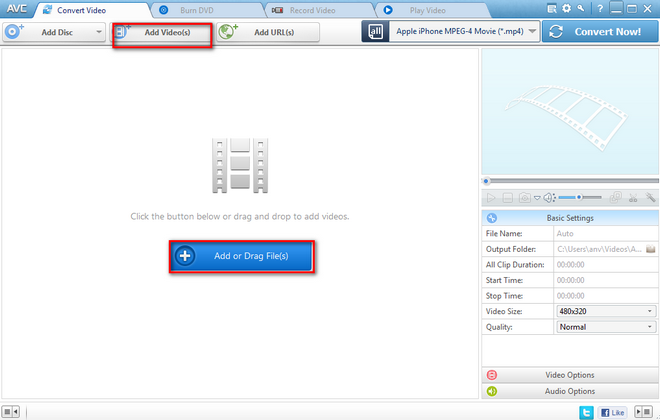
- Pavtube iMedia Converter for Mac: $65 for lifetime license (It can rip Blu-ray/DVD and transocde videos)
DVDFab for Mac
DVDFab for Mac is a well known name and has been in business for years. The company is located China which till now has been a safe haven against the American entertainment industry. The company even withstood a complete seizure of their domain and further attempts by the AACS-LA to close down the company. DVDFab comes with an graphical user interface that displays four tabs: Copy, Ripper, Converter, and Creator. By clicking on any of them you get access to advanced tools that efficiently handle both tasks related to DVDs and Blu-ray discs. But, you need to pay for the each function. And you can look at the price of each DVDFab feature. It is TOO EXPENSIVE.

Ideal DVD/Blu-ray Ripper for Mac
The Chinese company Ideal offers a free 10 day trial of their Blu-ray ripping software which normally sells at $59.95 and is currently available at $49.95. The company regularly updates their software to allow decryption of new movies. They also have a solution for decrypting DVD movies, which sells at $39.97 for a lifetime license.
Magic Blu-ray Ripper for Mac
Magic offers Blu-ray ripping software for both Windows and Mac. A lifetime license is currently avavailable at $49.95, which saves you a whopping $70. (thanks for the tip zebadee!)
Leawo DVD / Blu-ray ripper for Mac
The company Leawo offers both DVD and Blu-ray ripping products for both Windows and Mac. They have a free trial and when that’s done you can buy the Blu-ray ripper for $49.95 and their DVD ripper for $29.95, for both a year of free updates. A lifetime license is $99.95 for the Blu-ray ripper and $39.95 for the DVD ripper.
MakeMKV for Mac
MakeMKV is free to use and will deal with decryption of both DVDs and Blu-rays. The software won’t be an one step solution for most users as it doesn’t compress video. It will always repackage DVDs to MKV files. Blu-ray movies can be made into an uncompressed MKV file or ripped to the HDD.
MacX DVD Ripper for Mac
MacX DVD Ripper is a DVD ripper that backs up and rips DVD movies (including commercial DVDs) to MOV, MP4, MPEG, FLV, iTunes video, minus all the copy protections that are widely used in DVD movies. Its free edition can’t remove CSS, region code,Disney X-project DRM, etc. If you want to rip protected DVDs, you need to cost $29.95 Advanced Pro Version.
Longo DVD Ripper for Mac
Longo DVD Ripper for Mac is a very easy and powerful DVD Ripper for Mac OS. It can rip DVD to iPad, iPod, PSP, AVI, MP3, MP4(for most smart phones like htc). Then you can enjoy the movies on your portable device without the original DVD discs anytime and anywhere.
Related Articles:
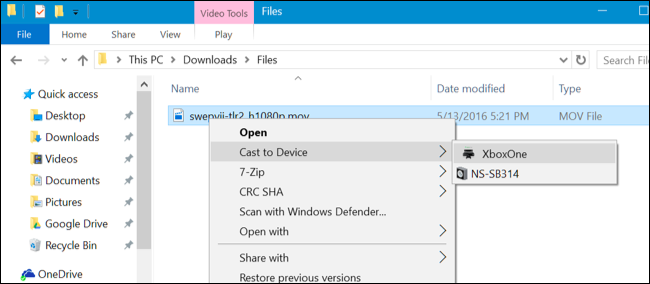
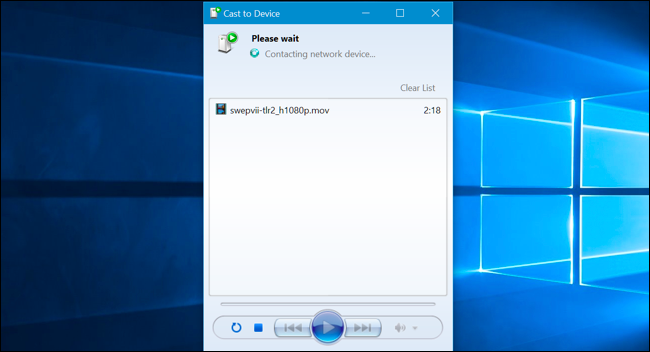
 Xbox One/Xbox One S Supported MKV

 Play MKV on Xbox via USB drive


 Top 3 DVD to FaceBook Ripper for Windows
 Top 3 DVD to FaceBook Rippers for Mac


 "
"