MKV is a container in which there can be many different kinds of ‘streams’ including video, audio and subtitle. One MKV may look great in Kodi while others may not depending on what is inside. For example, when your MKV has DVD VOBSubs or Blu-ray PGS subtitles, your subtitles on MKV will look bad in Kod.
"I’ve got an .mkv file with embedded subtitles, but when I play the movie they look like crap. When I play other movies and DL the subs from OpenSubtitles or whatever, they look way better. Anyoone have any ideas on how to fix this? I’ve not found anything online, and it’s driving me crazy. Thanks for any help!"
Some subtitles are text based (like .srt and .ass) which means KODI renders them onto the screen. These often look great. Other subtitles are graphic /video based (like original DVD VOBSUB and BluRay PGS subtitles) and can look pretty bad as KODI has no control over them (they are simply a video containing the subtitles to be overlaid onto the picture). So when your MKV video is played with bad subtitles in Kodi, you can do as below shown.
Step 1: Check MKV subtitle format
You can use a program like Media Info to check what type of subtitles they are. You can enter into Media Info official site from here: https://mediaarea.net/en/MediaInfo
Step 2: Add Subtitle Add-on in Kodi
If your MKV subtitles are VOBSub and Blu-ray PGS graphic subtitles, you should use SRT subtitles. You can try downloading and installing any of the Subtitle add-ons that will download new .srt in the same folder as your movie in Kodi. OpenSubtitles.org is suggested here.
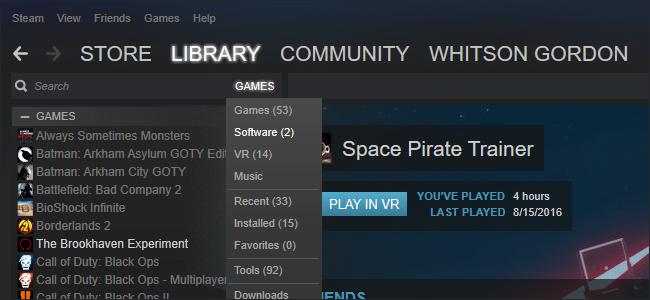
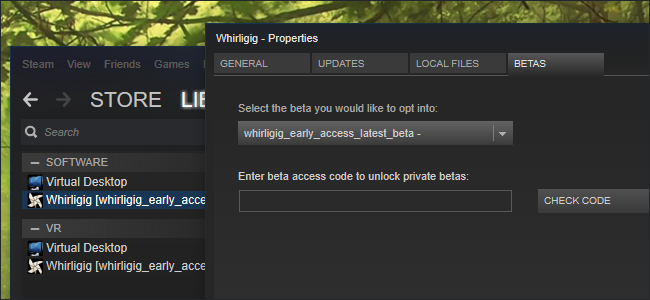
To install this add-on you must do so from the Add-on manager from within Kodi by going to:
- Settings
- Add-ons
- Install from repository (v15/v16) / Get add-ons (v14)
- Kodi add-on repository
- Subtitle services
- OpenSubtitles.org
- Install
Apart from installing subtitle add-on, you also can download subtitles from subtitle sites online on your own and name the subtitle files as the same name as the video files then put the subtitle files in the same folder as your movie manually. Below are some eputable Subtitle Download Sites.
Top 10 Subtitle Download Sites
|
No. |
Subtitle Sites | Overview |
|---|---|---|
1 |
This site has the biggest advantage of offering many languages for movies subtitles. If you want the latest one in the market, the search options allow for that as well as those that have been downloaded for many times. | |
2 |
The search for subtitles in this site is very simple once you know the right name and title. Furthermore, you will have the choice of using language to sieve your results to a manageable number. If you want to upload a movie subtitle or even rate it, subscene.com will allow for all that. | |
3 |
This site has subtitles arranged in an orderly manner. There are those from 0-9 in the numerical order while others are arranged alphabetically from A-Z. You will have the freedom to choose the one that suits your movies. | |
4 |
It is well detailed with crucial information on all the latest movie subtitles in the market. There is the date of release, title of the movie, language used and its uploader. That makes it easy for you to choose the best subtitles to download. | |
5 |
There are thousands of movie subtitles that you will come across at Opensubtitles.org/en. Language is the most effective option for making searches and downloading is done in a direct manner. It is also possible to upload fresh movie subtitles using this site. | |
6 |
All 4 DIVX does not link directly to subtitle files, it provides links to other independent web page that host subtitles files. This is a perfect subtitles download site, worth to have a free trying. | |
7 |
At SubsMax, there are over one million subtitles that you can use for thousands of movies. You just need to make searches using the right language and names to end up with the most suited one for your use. This site allows for uploading of new subtitles. | |
8 |
This is a more limited site form where you can download subtitles for movies and TV series. They have only two languages; Greek and English with the common format being DVDrip. | |
9 |
This is one of the popular sites where TV shows and movies subtitles can be downloaded for free and in a stress-free manner. They always have the most popular links and other relevant links to use in downloading suitable subtitles. | |
10 |
This site supports three main formats namely XviD, DivX and x264. They are all well suited for TV series and movies so make sure your searches are precise in relation to quality and language. |
When you download subtitles and want to attach external subtitles to videos, you can refer to these guides:
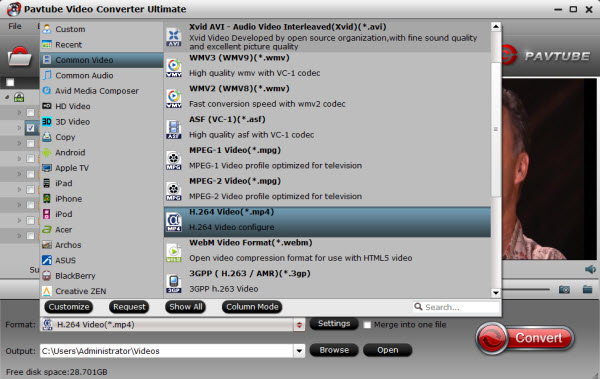
- Burn Subtitles To 1080P X264 MKV Video Permanently
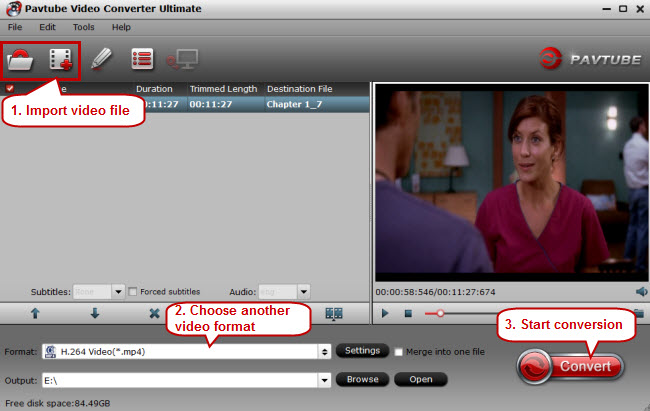
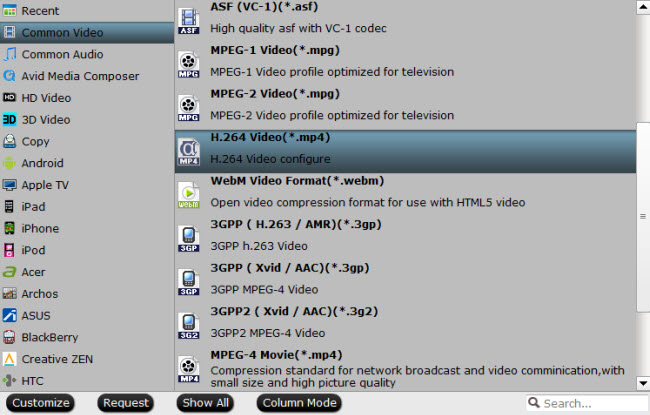
- Add SRT/ASS/SSA Subtitles to MP4 Video – Pavtube Studio
Convert MKV PGS subtitles and VOBSub to MKV SRT subtitles
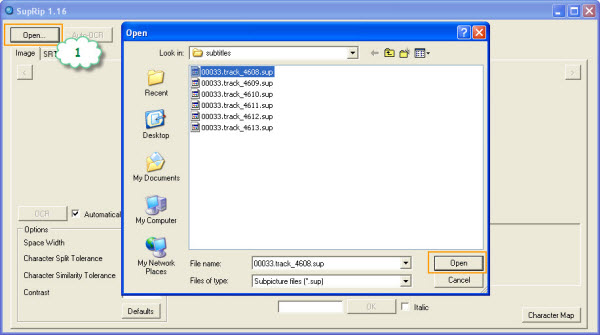
Apart from download subtitles from sites, you also can directly convert MKV PGS subtitle and DVD VOBSub to srt subtitles directly with some subtitle converter. SupRip lets you OCR and detect text within subtitles as used by HD-DVD and Bluray movies. You can then save the text as a SRT file to be included in reencoded movies.
Download: Download SupRip 1.16
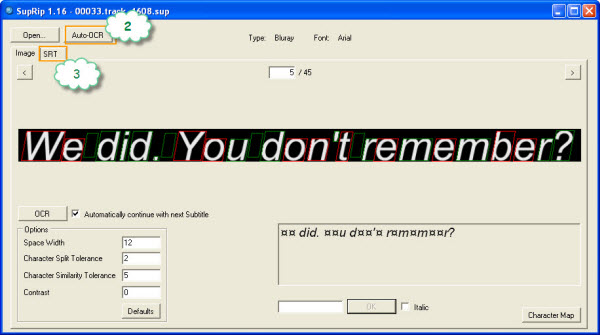
Step 1. Start SupRip, load the SUP file with the “Open” button.
Step 2. Click “Auto-OCR” to automatically scan the whole file and leave any unknown characters alone.
Step 3. Go to the SRT tab.
Step 4. Review the subtitles and statistics. Change some options there if you want.
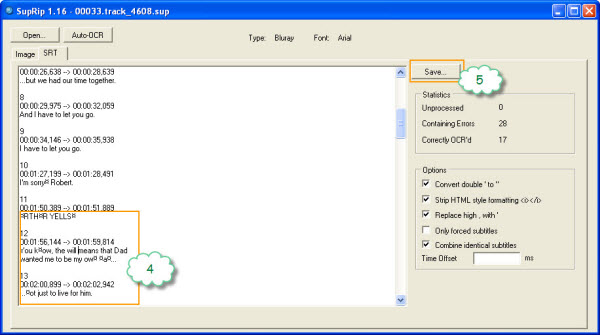
Step 5. Save the SRT file with the “Save” button.
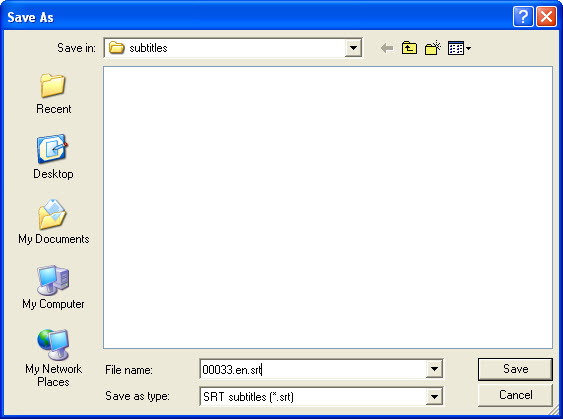
How to name multiple srt files so that the language shows to select:
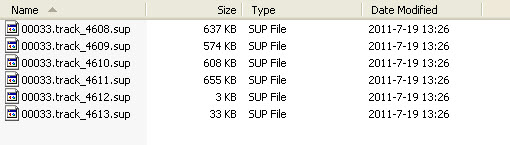
1. name the subtitles exactly as the video stream. E.g. 00033.m2ts-> 00033.srt
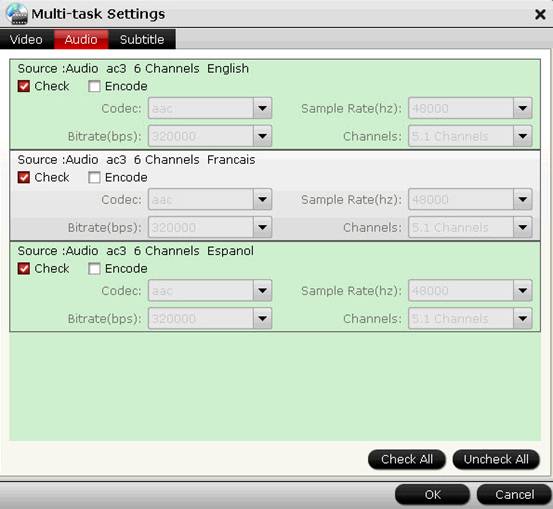
2. give an id to subtitles with different languages. E.g. name English subtitles xxx.en.srt and German subtitles xxx.de.srt
Learn More:
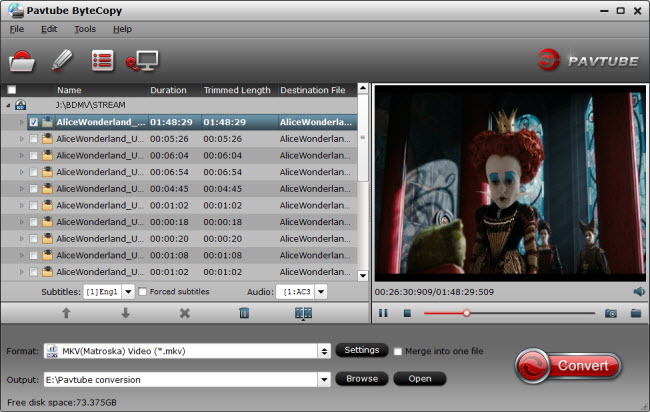
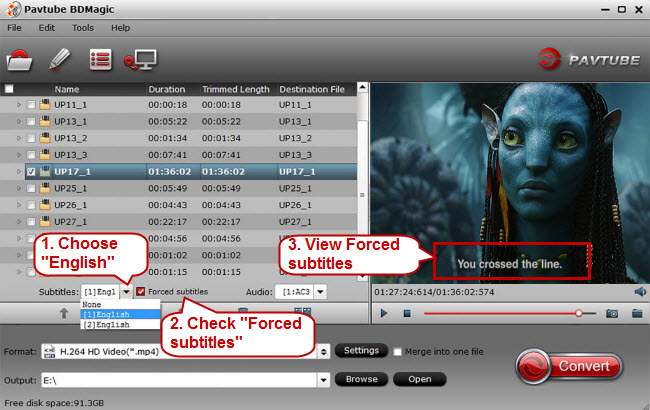
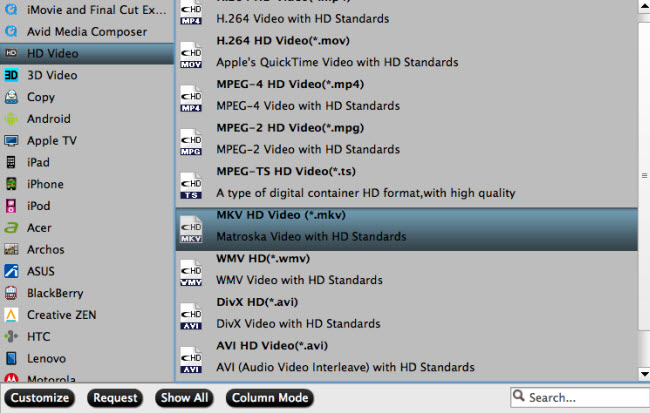
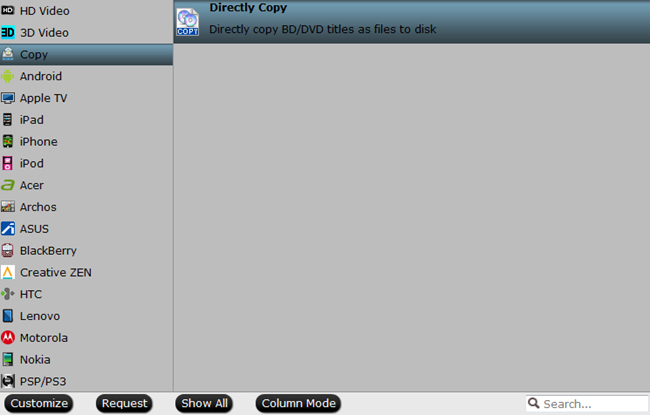
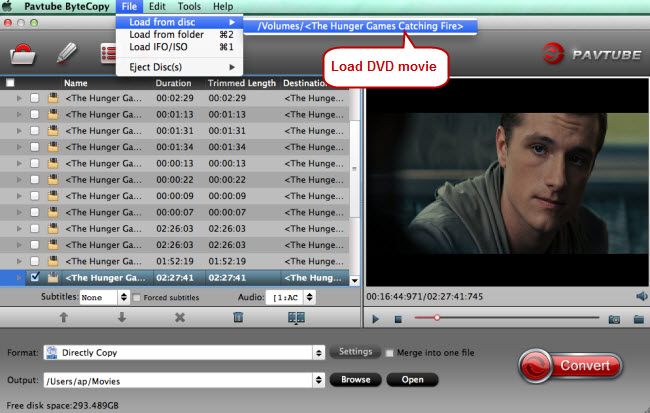
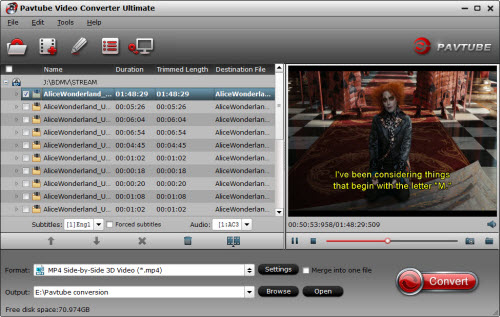
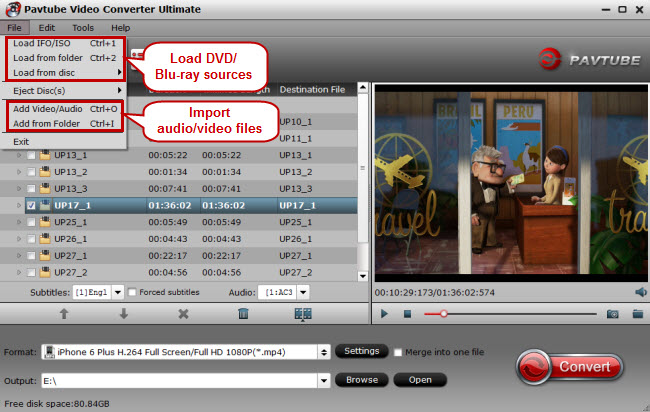
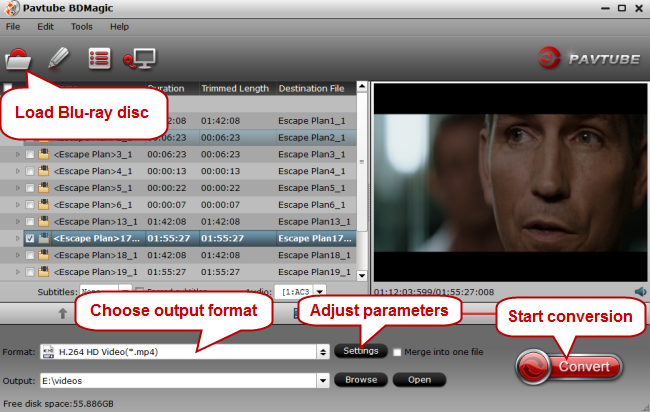
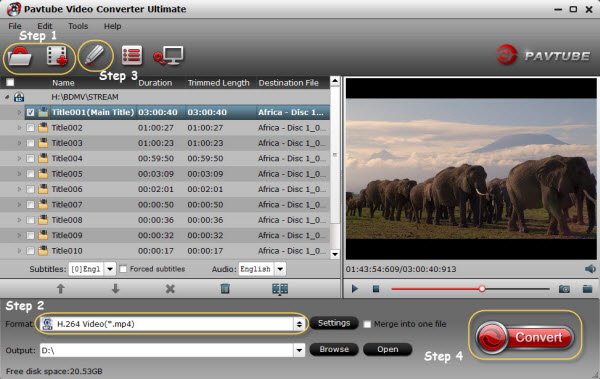
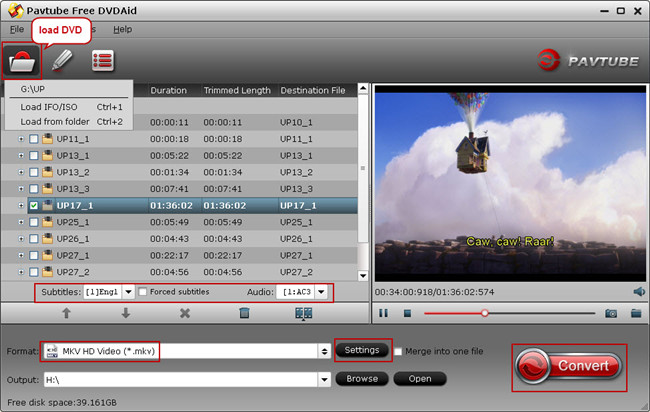
If your MKV is ripped from Blu-ray and DVD, Pavtube ByteCopy/Pavtube ByteCopy for Mac can directly help you extract SRT subtitles from Blu-ray and DVD movies and it also allows you to add external srt/ass/ssa subtitles to Blu-ray and DVD movies. It can directly convert Blu-ray to lossless MKV with converting Blu-ray PGS subtitles to DVDSUB. If you only want subtitles when actors are saying a foreign language, you also can rip Blu-ray and DVD with forced subtitles.


Related Articles:


 Pavtube Promote Products in 2016 Halloween
 Pavtube 2016 Halloween Promotion Software Bundles


 Compare Pavtube Halloween Special Offers
 Top 3 DVD Digital Converter for Windows

 Top 3 DVD Digital Converter for Mac


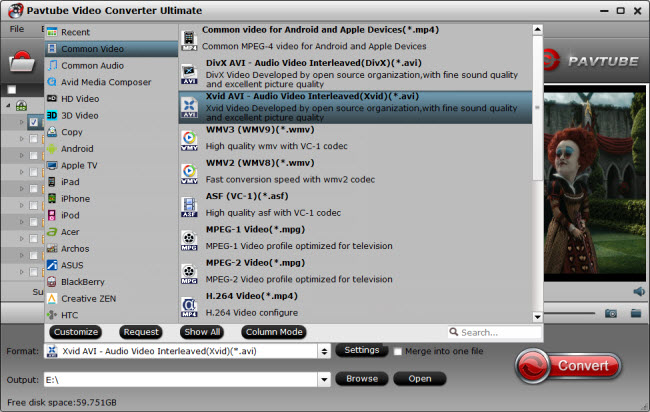


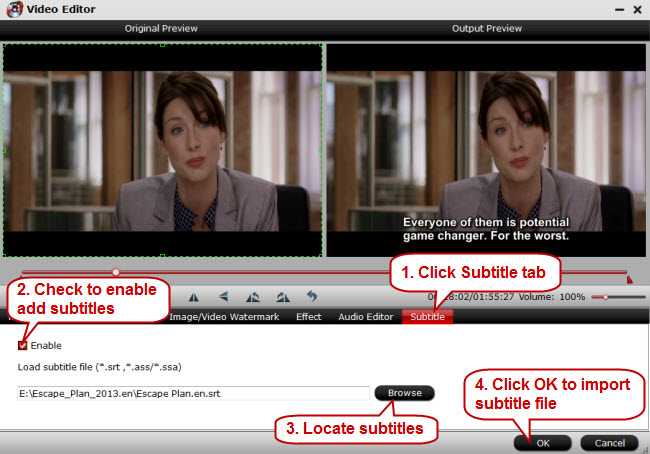
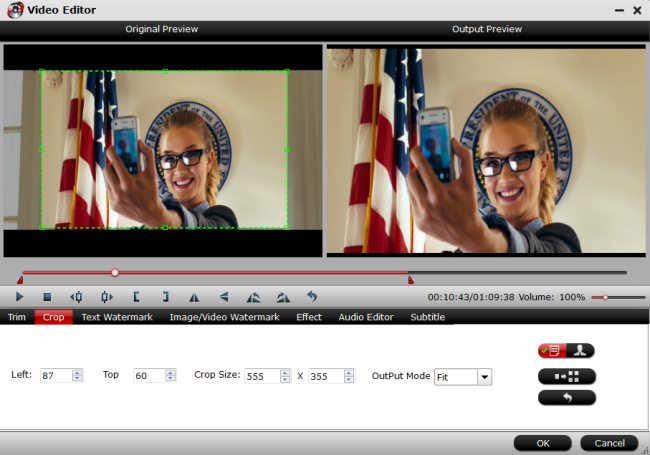
 to switch to the editing interface, where you can find multiple editing functions and “Subtitle” is just one of them. Click the “Subtitle” tab and check the “Enable” box to allow you to add SRT/ASS/SSA subtitles to PS4 videos. Then Click “Browse” to find and import the downloaded SRT/ASS/SSA subtitles.